Are you a blogger looking to connect with like-minded individuals, share experiences, and gain valuable insights into the world of blogging?
If you're ready to take your blogging community to the next level, a Facebook group might be just the solution for you.
In this comprehensive guide, we'll walk you through the process of creating and effectively running a Facebook group tailored to bloggers.
Whether you're a seasoned blogger or just starting out, these steps will help you create a thriving online community that stands the test of time.
Understanding The Power Of Facebook Groups For Bloggers
Facebook groups offer a unique platform for bloggers to collaborate, share ideas, and engage with one another in a more intimate setting than a public page.
While you might already have a Facebook page for your blog, a dedicated group can foster deeper connections among your audience, encourage meaningful discussions, and provide a space for bloggers to support each other.
Exploring The Types Of Blogger Groups
Before diving into the process of creating a Facebook group, let's explore the different types of groups that exist in the blogging community:
- Event-Based Groups: These groups revolve around specific events, conferences, or challenges. Participants join to stay updated on event news and connect with fellow attendees.
- Niche-Specific Groups: These groups cater to bloggers within a particular niche, such as fashion, travel, parenting, or technology. Members share insights, tips, and experiences related to their niche.
- Blogging Support Groups: These groups are designed for general blogging discussions and support. Bloggers from various niches come together to exchange ideas, share challenges, and seek advice.
- Promotion Groups: These groups provide a platform for bloggers to promote their latest blog posts, collaborations, and projects. Members engage in reciprocal sharing to boost visibility.
- Networking Groups: Networking groups connect bloggers with potential collaborators, guest posting opportunities, and partnerships. These groups can help expand your blogging horizons.
Creating And Nurturing Your Facebook Group
Step One: Define Your Group's Purpose and Goals
Before you start your Facebook group, it's essential to have a clear vision of its purpose and goals. Consider the following questions:
- Who is your target audience? What will they gain from joining the group?
- How will your group be unique or different from existing ones?
- Where do you see your group in six months or a year?
A well-defined purpose will attract the right members and keep the group focused on its objectives.
Step Two: Naming and Setting Up Your Group
Choose a name that accurately represents your group's focus. Conduct a quick search on Facebook to ensure your chosen name is available. Once you have a name, follow these steps:
- Create the Group: Head to Facebook Groups and click "Create." You'll need at least one other person to create the group. Ask a friend or family member for permission to add them temporarily.
- Group Settings: Determine whether your group will be public, closed, or secret. Configure settings like membership approval, post approvals, and group email.
- Group Description: Craft an informative group description that explains its purpose and benefits. Include your group's URL if it's associated with a website.
- Group Rules: Establish clear and concise group rules. Define what type of content is allowed, how members should interact, and consequences for rule violations.
Step Three: Building a Strong Foundation
Your group is now live, and it's time to kickstart engagement and membership growth:
- Create Discussions: Begin with daily discussions to encourage engagement. Invite members to introduce themselves, share recent blog posts, or answer relevant questions.
- Invite Members: While inviting others, be respectful. Send them a personal message with a brief description of your group and its benefits. Never add people without their consent.
- Promote Your Group: Share your group on your social media channels and blog. Let your existing audience know about the new community you've created.
Step Four: Fostering a Thriving Community
To ensure your group thrives, focus on these key practices:
- Consistent Engagement: Keep discussions active and interesting. Pose questions, share insights, and encourage members to participate.
- Respectful Atmosphere: Enforce your group rules to maintain a respectful and drama-free environment. Remove posts that violate guidelines promptly.
- Quality Over Quantity: Prioritize meaningful interactions over sheer member numbers. An engaged and active community is more valuable than a large, inactive one.
- Networking Opportunities: Facilitate connections by organizing networking threads or events where members can showcase their work and collaborate.
- Long-Term Growth: As your group grows, consider adding more moderators to ensure smooth operations and better member engagement.
In Conclusion
Creating and running a Facebook group for bloggers can be a rewarding endeavor.
By defining a clear purpose, nurturing a respectful environment, and consistently engaging with members, you'll foster a community that supports and empowers bloggers in their journey.
Whether you're seeking collaboration, advice, or friendship, a well-managed Facebook group can become an evergreen resource for bloggers of all levels.
So, take the plunge and create a space where bloggers can connect, learn, and thrive together - and feel free to join our Facebook Group Building Better Blogs to learn even more.
Social Media Promotion And More
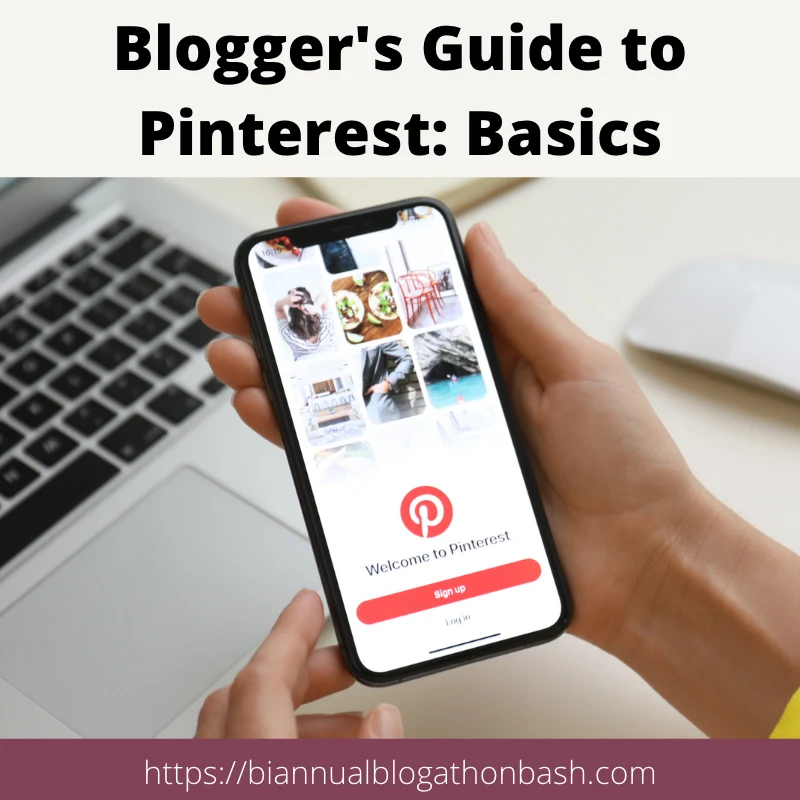
Blogger's Guide to Pinterest: Basics
This Blogger's Guide to Pinterest is for those who are new to using Pinterest as a blogger and need to know the basics.


Prayerfull Mum
Monday 26th of January 2015
I am planning to have a prayer plugin for my blog site and wondered if people (fans, readers, others) would respond so favourably. And then, I read this ... It's an interesting idea, I feel, to create a prayer FB group for my fans and readers. Definitely worth planning for. Thanks for the tips. I do manage another Fb group but it's based on Love God Greatly, a daily devotional group. This new idea, will be different and I am excited to explore it!
Kathleen Bailey
Monday 26th of January 2015
I'm glad someone found it useful, I think that would be a great use of a Facebook group.
Create With Joy
Sunday 25th of January 2015
Hi Kathleen,
Although I have no plans to start a Facebook group at the moment, just wanted to tell you that I found your article really helpful, and really applicable to the planning and consideration of any groups. Thanks for taking the time to research and share this very valuable info with us!